Using advanced Kaltura features for Zoom Cloud Recordings
All VCU users with access to Zoom’s Cloud Recording feature (ie: anyone not attached to a department governed by HIPAA regulations) will have their videos automatically backed up to VCU’s Kaltura server at vcu.mediaspace.kaltura.com
By adjusting your default Zoom account settings, you can take advantage of Kaltura’s ability to synchronize multiple video sources for a customized experience during playback.
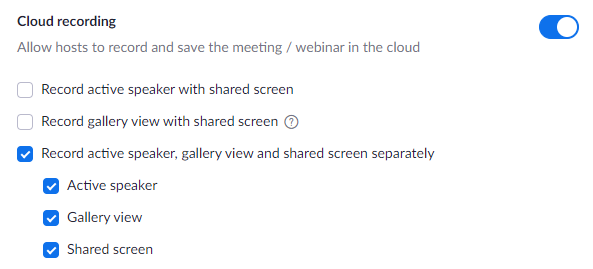
First, go to your Zoom account settings at vcu.zoom.us. Under “Settings > Recording,” choose “record active speaker, gallery view and shared screen separately.“
With your meeting in progress, use the “Record to Cloud” option. When the meeting ends, allow time for your video to be processed and copied to Kaltura. Then log in to vcu.mediaspace.kaltura.com to find it.
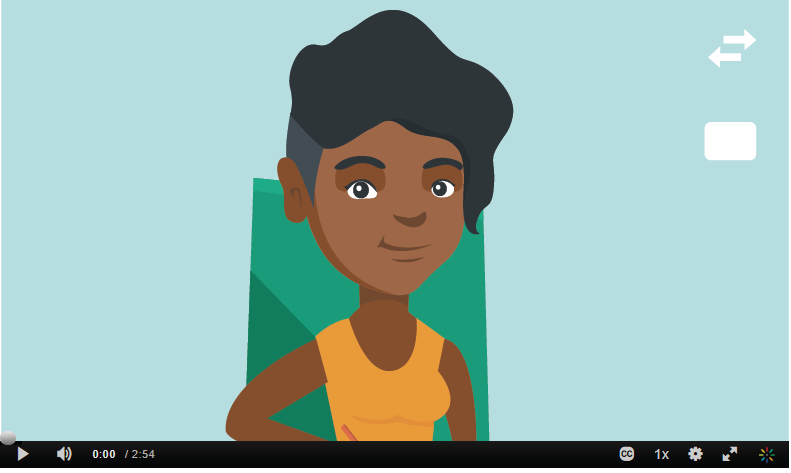
On playback, you’ll have several options for viewing your video.

The icons shown above will appear on the right side of the Kaltura player. If you wish to view either the presenter or shared content in full-screen mode, click on the first icon. A pair of arrows will display at the upper right of the player window, allowing you to toggle between sources.
If you want to view both sources simultaneously, you can choose to minimize the speaker to a small picture-in-picture, with the greater portion of the player window devoted to the shared content. You can use arrows to reverse this relationship as many times as needed during playback.

You can also use the side-by-side option to give equal weight to both sources. In this case, the arrows let you swap the sources from left to right and back again.

Kaltura’s advanced playback options provide an enhanced viewing experience to keep your viewers engaged. As always, any Kaltura-hosted videos remain available until and unless you decide to remove them. They can be shared via a direct link, embedded into webpages and/or placed in your Canvas course pages. For more details, visit the VCU Kaltura information page.
Categories features, recordings