Making Video Accessible from Start to Finish
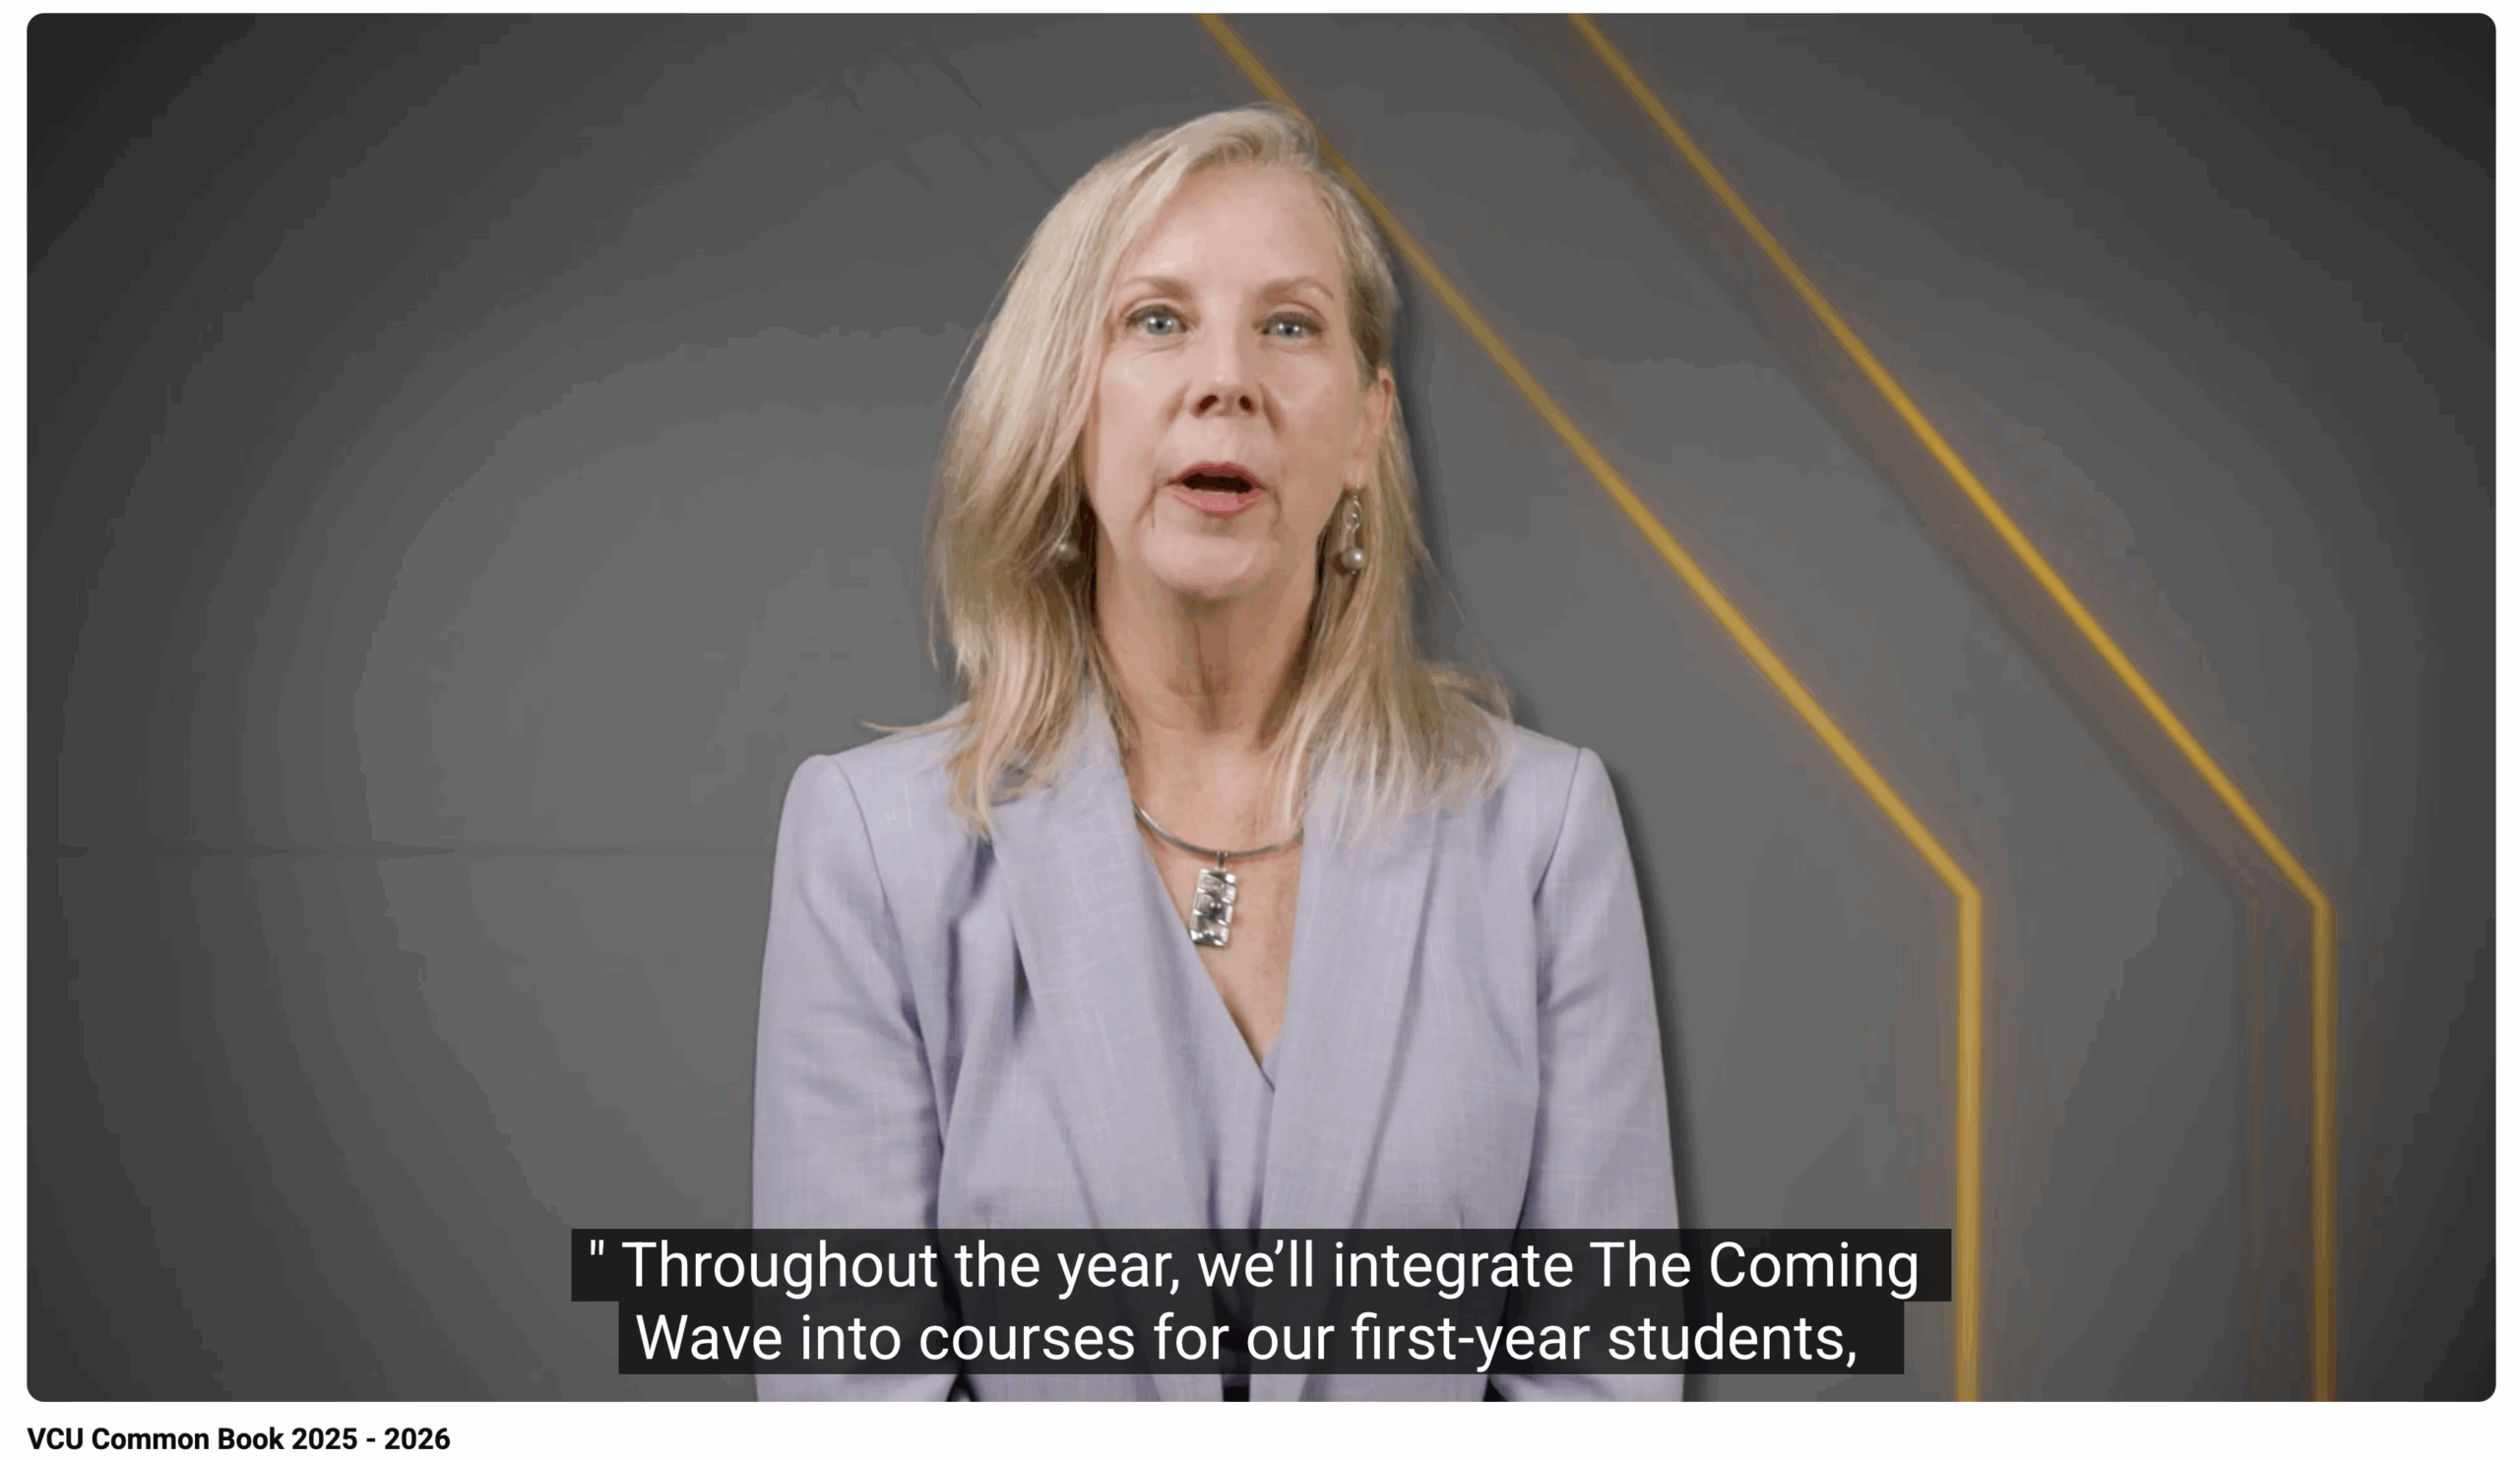
Accessibility and inclusive design ensure your content has the ability to be understood by all learners. When planning a course, accessibility should not be an afterthought. The ability to provide inclusive content begins when you start the planning process and should be included at every stage, from writing the script to recording and uploading. Here are some tips and techniques to guide your accessible course design.
Pre-Production
Scripting for Visuals (Integrated Audio Description)
The most effective way to provide visual information for users who are blind or have low vision is to integrate descriptions of visuals into the script itself. When writing the script, describe visuals verbally even when shown on screen. Whether it be charts, actions, or other graphic visuals, be sure to have the speaker or narrator describe them out loud to achieve a better overall experience and understanding. Avoid saying “as you can see.” For example, if describing a graph, you would introduce the graph, identify the variables, highlight the key information, and then provide conclusions.
Production
Good Quality Audio (Hardware, Position, and Pacing)
For the benefit of all students, it is important to have clear and easy to understand audio; however, this is especially important to students who are visually impaired and heavily rely on audio. When recording, speak clearly and concisely. Use a quality microphone that helps minimize background noise, and record in a quiet place without too much echo or outside sound.
Make sure to face the camera directly when speaking. Typically, this will also help ensure a good quality audio recording; however, it is most helpful to those who lip-read or use facial expressions as context for understanding information. Speak naturally and calmly at a moderate pace.
Post Production
Captioning (Text and Timing)
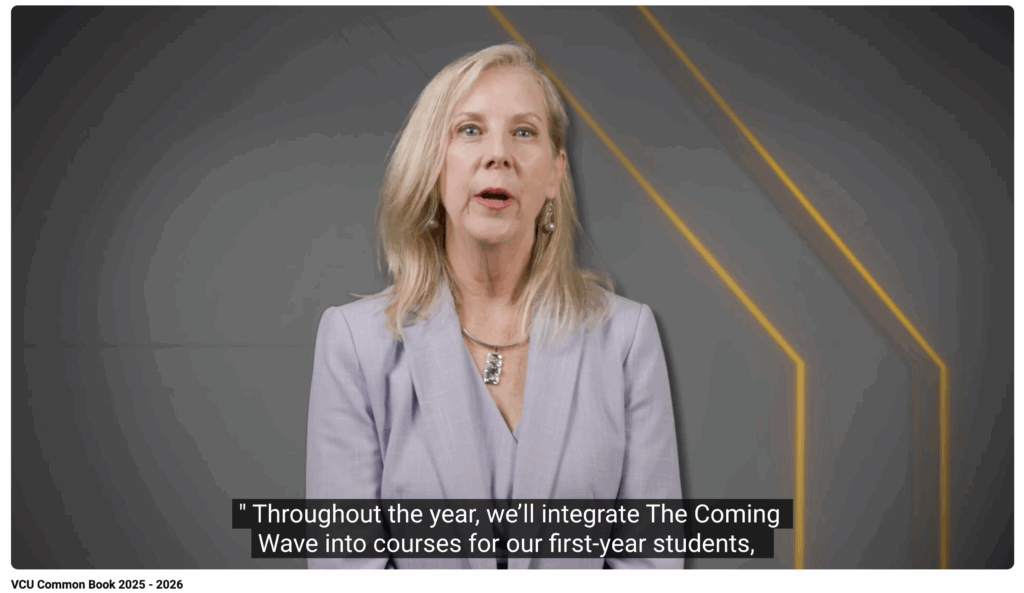
Captions are non-negotiable for users who are Deaf or hard-of-hearing, but they also benefit non-native speakers, those in loud environments, and those watching with the sound off.
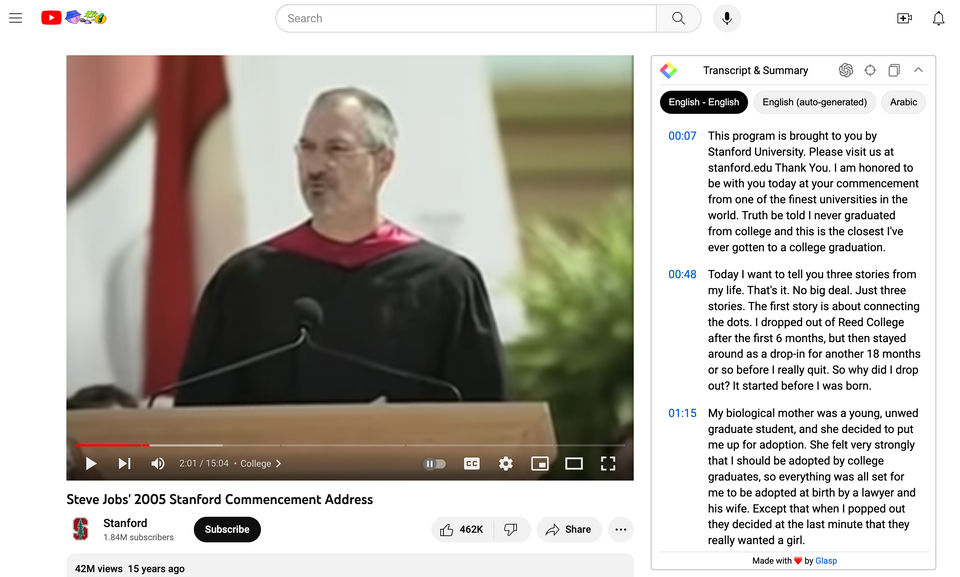
Include accurate, synchronized captions for all spoken content and important sounds. Be sure to include a transcript, and offer a full, text version of the video content (including spoken dialogue and descriptions of visuals).
Visual Clarity (Contrast and Fonts)
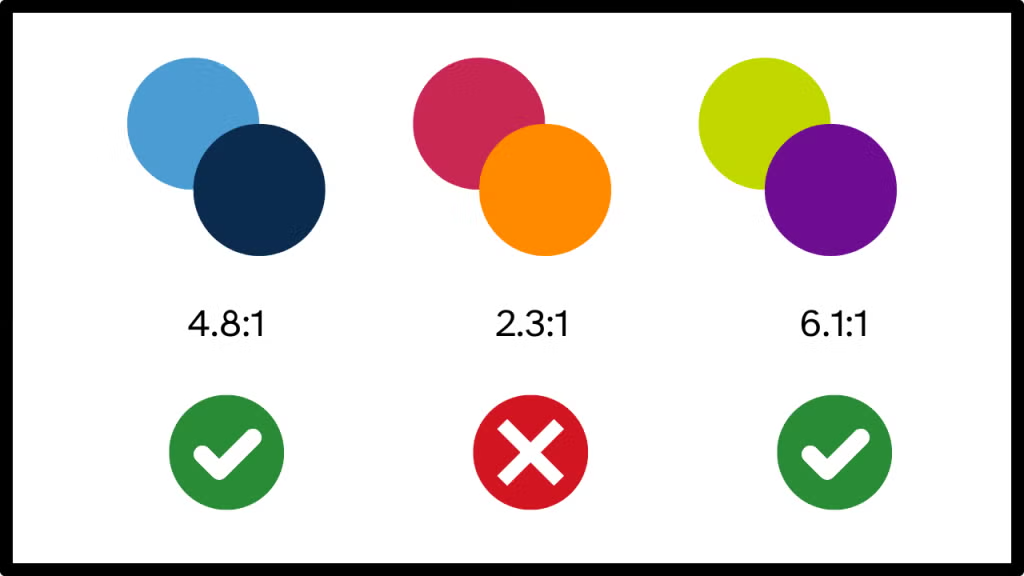
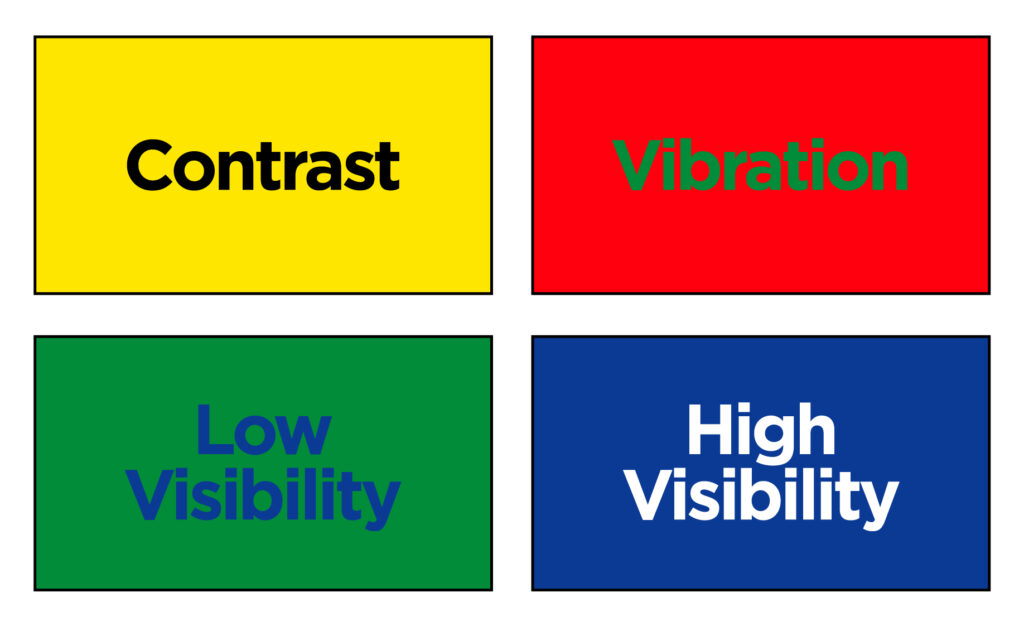
Ensure any on-screen text, titles, or graphics have sufficient color contrast against the background so they are easily legible for learners with low vision or color blindness. Don’t rely on color alone to convey meaning (e.g., “The green button is correct”). Achieving high contrast pertains to all aspects of the visual side of recording, whether it be your presenter and their background, or how graphics are overlaid on top of said background; you typically want to ensure that a high contrast difference between these elements is visible. (e.g., white text on a black background).
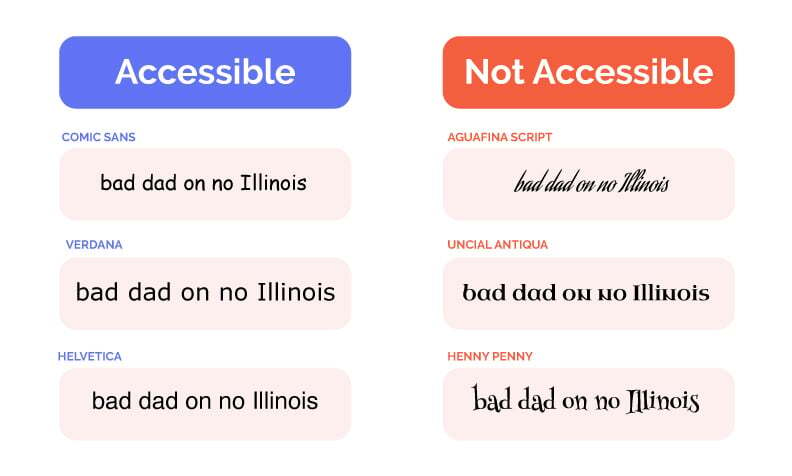
Legible and non-curvy fonts are always best, as they are much easier and faster to read and understand than a more “creative” font will be.
Flashing content poses a safety concern. Avoid flashing, strobing, or flickering lights and colors as they can cause seizures, dizziness, or nausea.
Taking the Next Steps
Making video accessible requires intentional planning to ensure your course content reaches everyone. By including accessibility in your production workflow, you’re encouraging student success and building a truly inclusive learning environment.
Categories Accessibility, article, multimedia, video