Using the “Registration” Feature
One of the best ways to ensure the security of your Zoom meetings is to require registration.
To use this feature, log into your account at vcu.zoom.us and choose “Schedule Meeting.” Once you’ve entered the rest of your meeting details, check the box for “registration required.”

Scroll to the bottom of the page, hit “Save” and you’ll be taken to a summary page for your Meeting. Under “Invite Attendees,” you’ll find a link to share with your guests. You can cut-and-paste this link for sharing, or choose “copy the invitation” to save a pre-worded message to your clipboard to insert into an e-mail.

The link you’re providing will take your invitees to a Registration form where they’ll need to enter their name and e-mail address, after which they’ll be presented with the actual “Join” URL for the Meeting. They will also receive an e-mail confirming their registration and the meeting address.
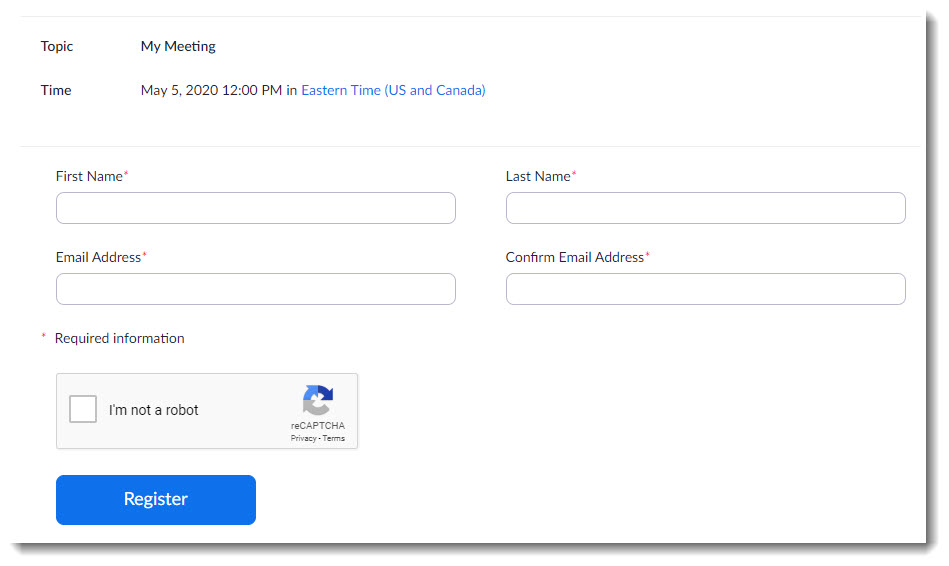
With this default design, the registration form includes the bare minimum of questions you’ll need answered, and anyone who fills it out will be automatically registered. If you want to exercise more control over who can register, or gather additional information about your guests, you can modify the Registration settings to suit your needs.
First, return to the Meeting summary page and scroll down to the bottom to find the “Registration” tab. Under “Registration Options,” choose “Edit.”
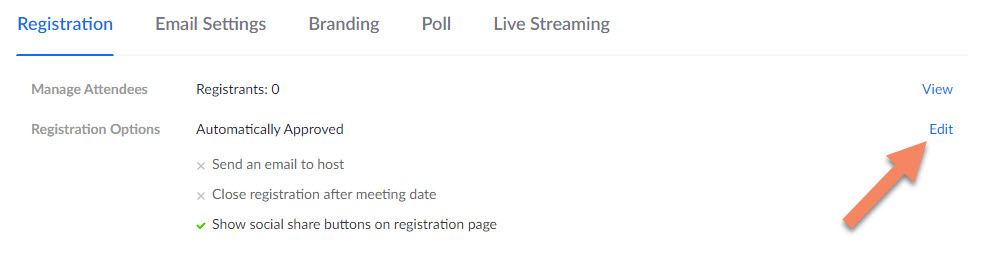
This will launch a window where you can customize your Registration settings to suit the event.

“Automatically Approve” is the default setting, and allows anyone who enters a name and e-mail address to register without you getting involved. It’s less secure than “Manual” approval, but still useful as a deterrent to potential meeting crashers. Most troublemakers will be discouraged by any obstacle you place between them and your meeting.
If you choose “Manually Approve,” then it will be up to you to decide who you can register. When registrants fill out the form, you will need to personally approve them before they receive the meeting link. Under the “Registration” tab, the “Manage Attendees” field will show how many have registered vs. how many are approved.

Click on the “Edit” link to see a list of all registrants and use the check boxes to approve or deny their request.

If you choose “send an e-mail to host when someone registers” it will be easier for you to keep track of registrants without having to constantly return to this page.
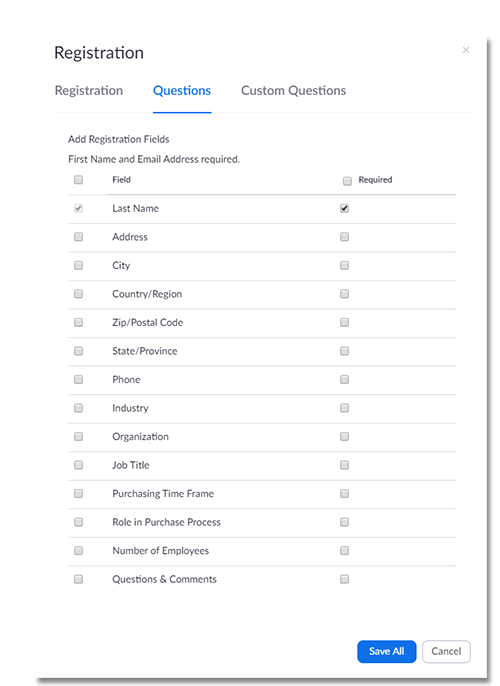
Whether you choose to approve requests automatically or manually, you have the ability to customize the Registration form to gather information beyond what’s on the standard form. The “Questions” tab will provide you with a list of possibilities:
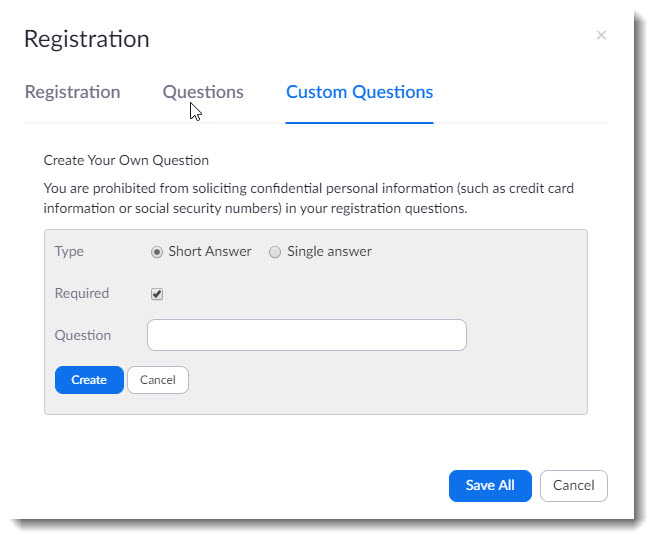
If the information you want to collect is not on this pre-made list, you can use the “Custom Questions” tab to create your own “short answer” or multiple choice questions.
By default, registrants will be given your e-mail address to contact with any questions about the event. If you want to change this, use the “E-Mail Settings” tab to designate someone else as the contact person for the event. You can also preview the message your guests will see when they register, and if you like, add information specific to your event.
The “Branding” tab lets you add banners and logos to your registration page, if appropriate. These images could represent your department or school, a specific event or any other image you might choose to reassure your invitees that they’re on the right page.
Besides being a strong security tool, the “registration” feature is a great way to help you prepare for who your audience will be, and in what numbers they’ll attend. Give it a spin for your next meeting,
Categories features