How to Use Collaborate to Meet with your Students Real-Time
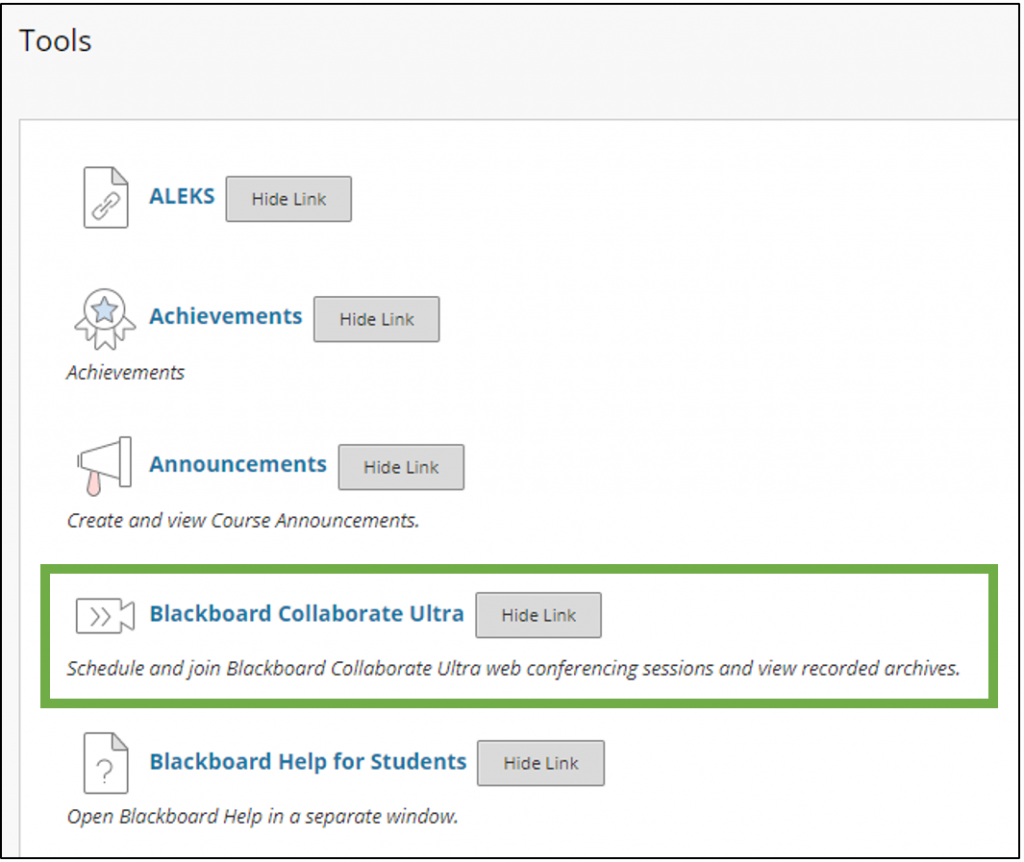
Getting there
In your course, go to Tools > Blackboard Collaborate Ultra
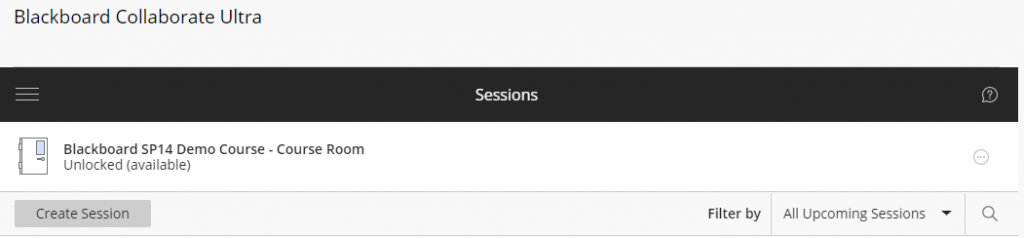
Click on the name of your course to enter the default course room that is always available OR select Create Session to schedule a session for a specific date and time.
Audio options
Click the Join Course Room button
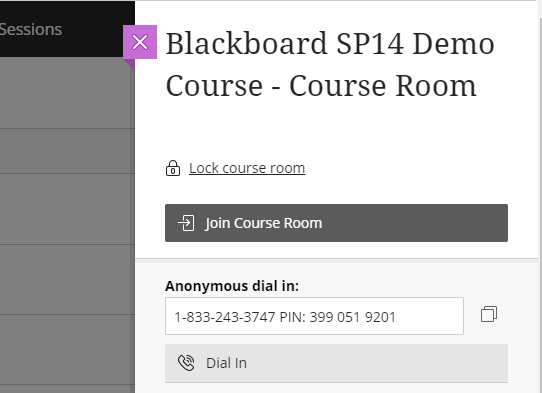
Click Allow if you see a prompt to use your microphone, then step through the audio and camera tests.
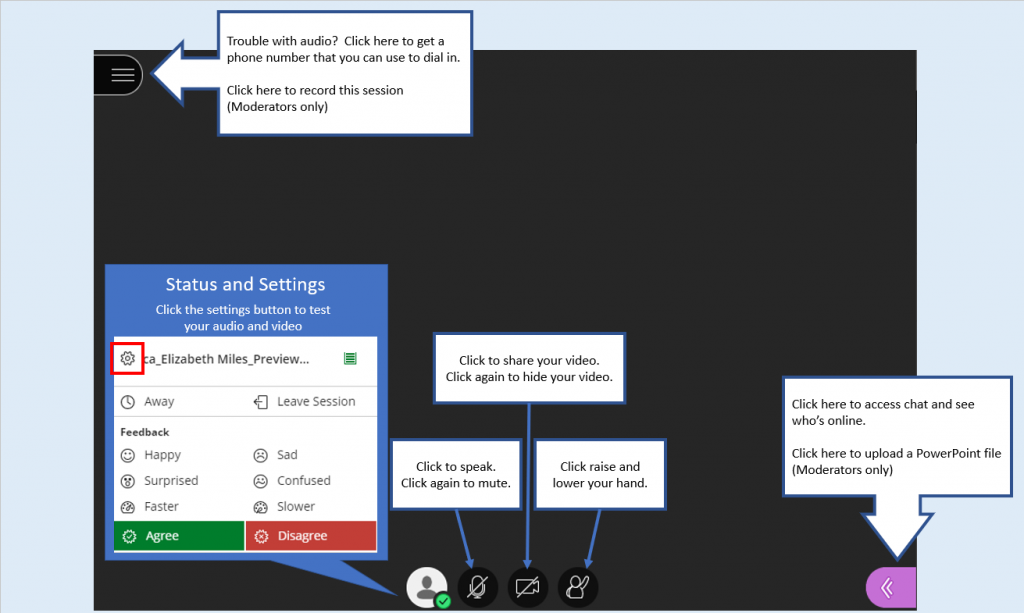
Click the white Session Menu flyout in the top left corner of the screen to record your session and to get the phone number needed to dial in if you have trouble with audio.
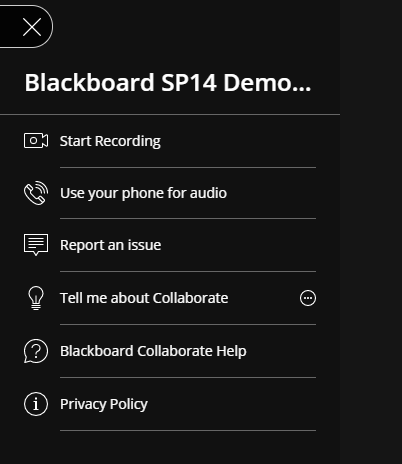
Click the purple Collaborate Panel flyout in the bottom right corner to access chat, the participant list, and to upload a PowerPoint file or share your screen.
between the options.
Upload a PowerPoint file
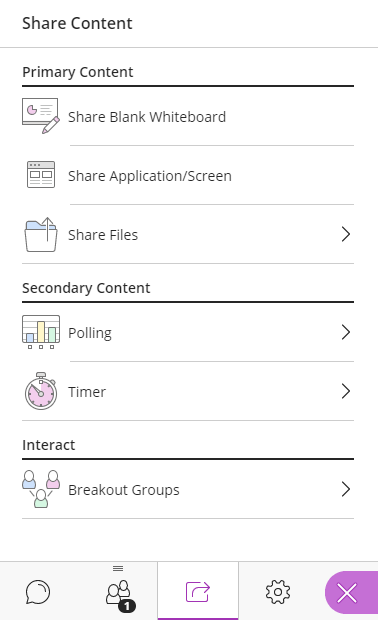
You can deliver lecture content via Collaborate. To do so, click the Share Content button, then select Share Files and upload your file.
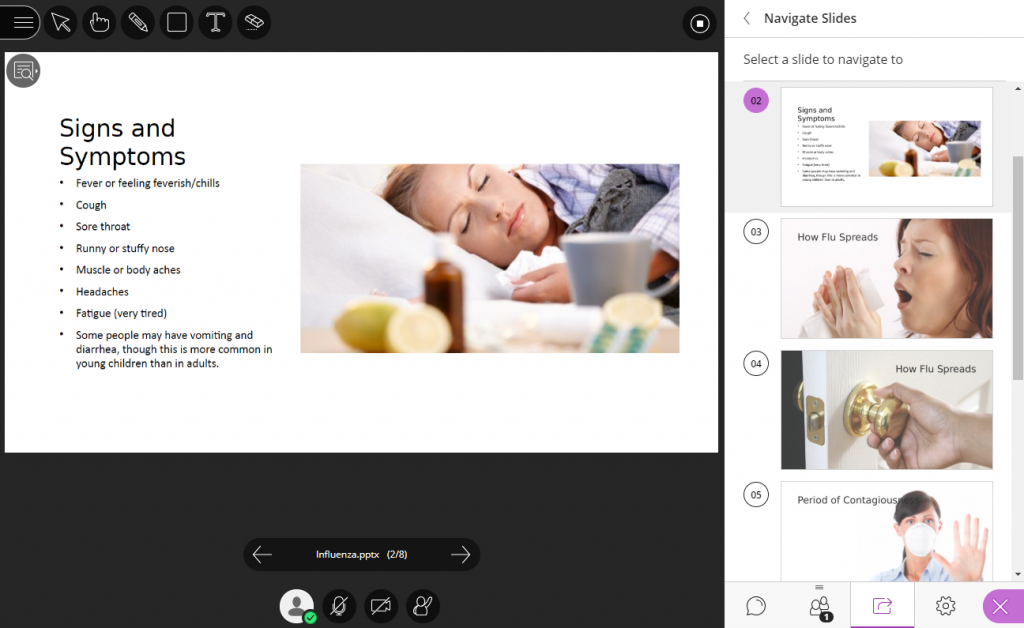
To make it easier for your students to understand the tools in Collaborate, consider adding the slide below to your Collaborate room:
Make your PowerPoint slides visible to students
Click on the slide thumbnail of your first slide. It will display in the main area of the screen.
or by clicking a thumbnail on the right side of the screen.
Getting Help
Collaborate tutorials and help for faculty
Collaborate tutorials and help for students