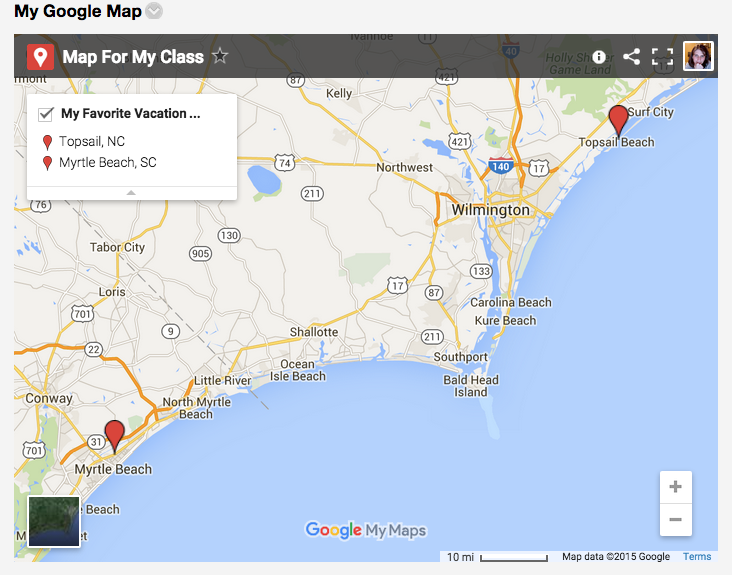
Create a Custom Google Map for Your Online Students
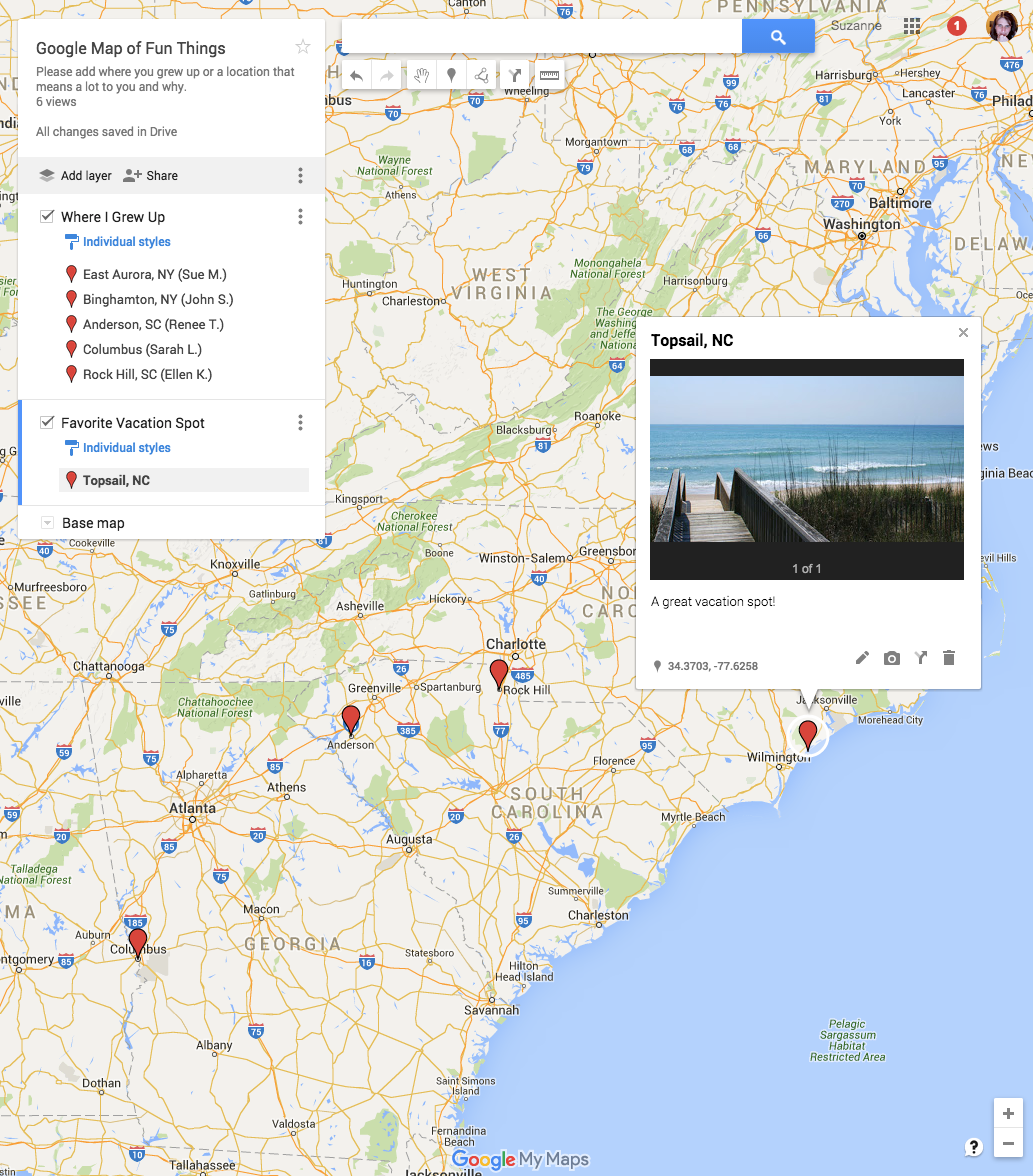
It is really hard for students in an online class to make the same kinds of connections with each other that students make when they come to a face to face class. For a typical face to face class you will find students forming study groups and exchanging emails and phone numbers, not so much in an online course. How do you get students to form those connections?
A fun way to facilitate those connections is to use Google Maps!
With Google Maps you can create your own map and share it with others. You can create new layers such as: where I grew up, favorite vacation spot, etc. Invite students to add to the map. It is even possible to click the camera icon to do a google search for an image of the location.
Steps to create a custom google map for your class:
- Go to https://www.google.com/mymaps
- Press Create a new map
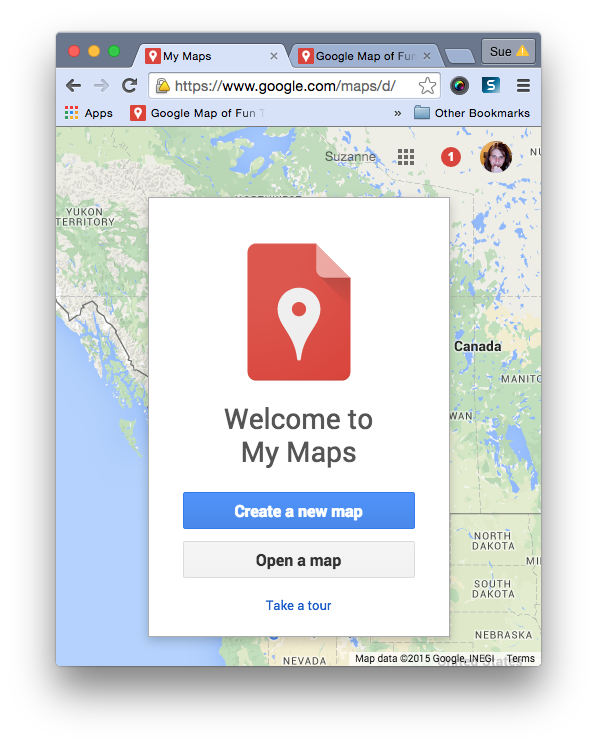
- Double click Untitled Map to give your map a title
- Double click the layer name to give a layer a name like “where I grew up”
- To add a location, add the city and state of your location.
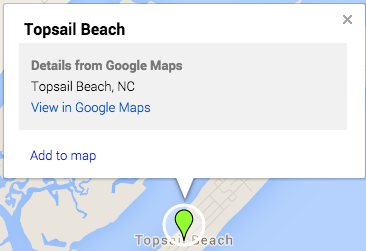
- Click Search
- Click Add to Map
- Click the pencil icon to change the name of your point and to add a description.
- Click the camera icon to add a picture. Click save.
- To share the map, click Share link.
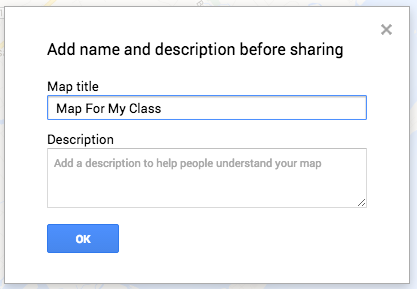
- Next to Private – Only you can access, click the word Change…
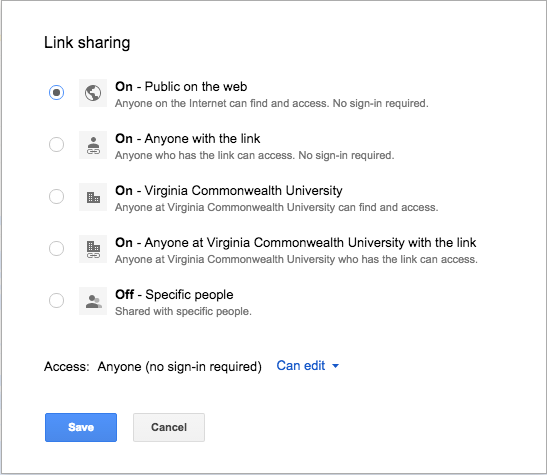
- Click the radio button next to: On – Public on the web. Change the Access at the bottom to Can edit
- Click Save
- Now you can share the link with your class by putting the link into your Blackboard site.
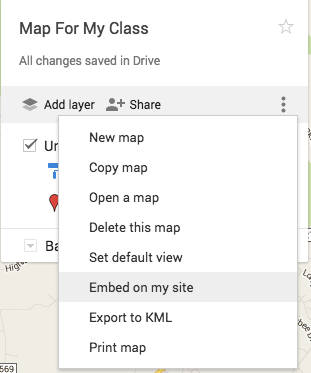
- To get extra fancy…you can click the 3 vertical circles and choose “Embed on my site”
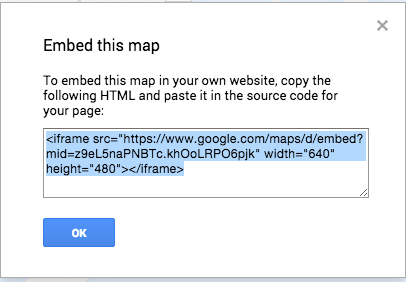
- Copy the code
- Go to Blackboard and add an item
- Click the HTML button and paste the code.
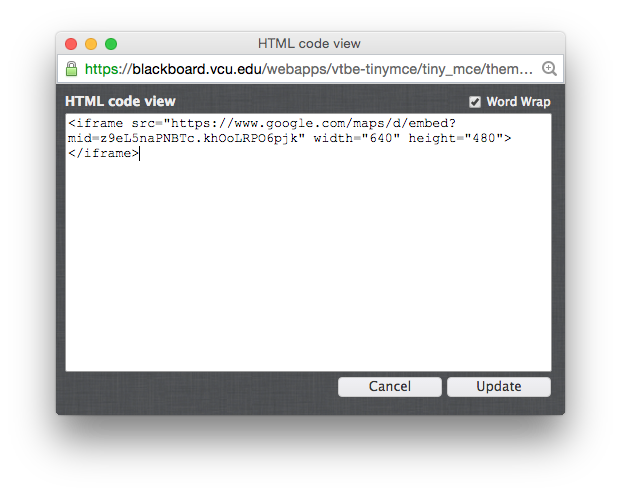
- Click Update and Submit.
- There you have it!
