Record your Screen Using Microsoft PowerPoint
I recently had some trouble recording my screen with Kaltura Capture after updating to the most recent version of Windows 11. As it turns out, you don’t need a third party tool to record your screen in Windows 11, you can just use Microsoft PowerPoint!
This post is based on the How to Screen Record on Windows 11 post from How-To Geek.
Record your screen from PowerPoint
- Open MS PowerPoint
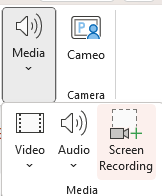
- On a blank slide, click Insert > Media > Screen Recording
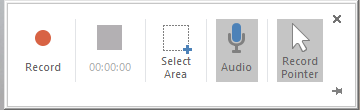
- Your screen will turn a little gray and a new menu will appear at the top of your screen that will allow you to choose whether or not you include audio. It will also allow you to select the area of your screen to record.
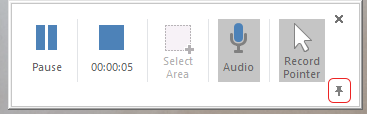
- In order to keep the recording window available while recording, click the pin in the lower right corner. If you forget to do this, it will look like it disappears. You can simply move your mouse to the top of the screen to have it appear again.
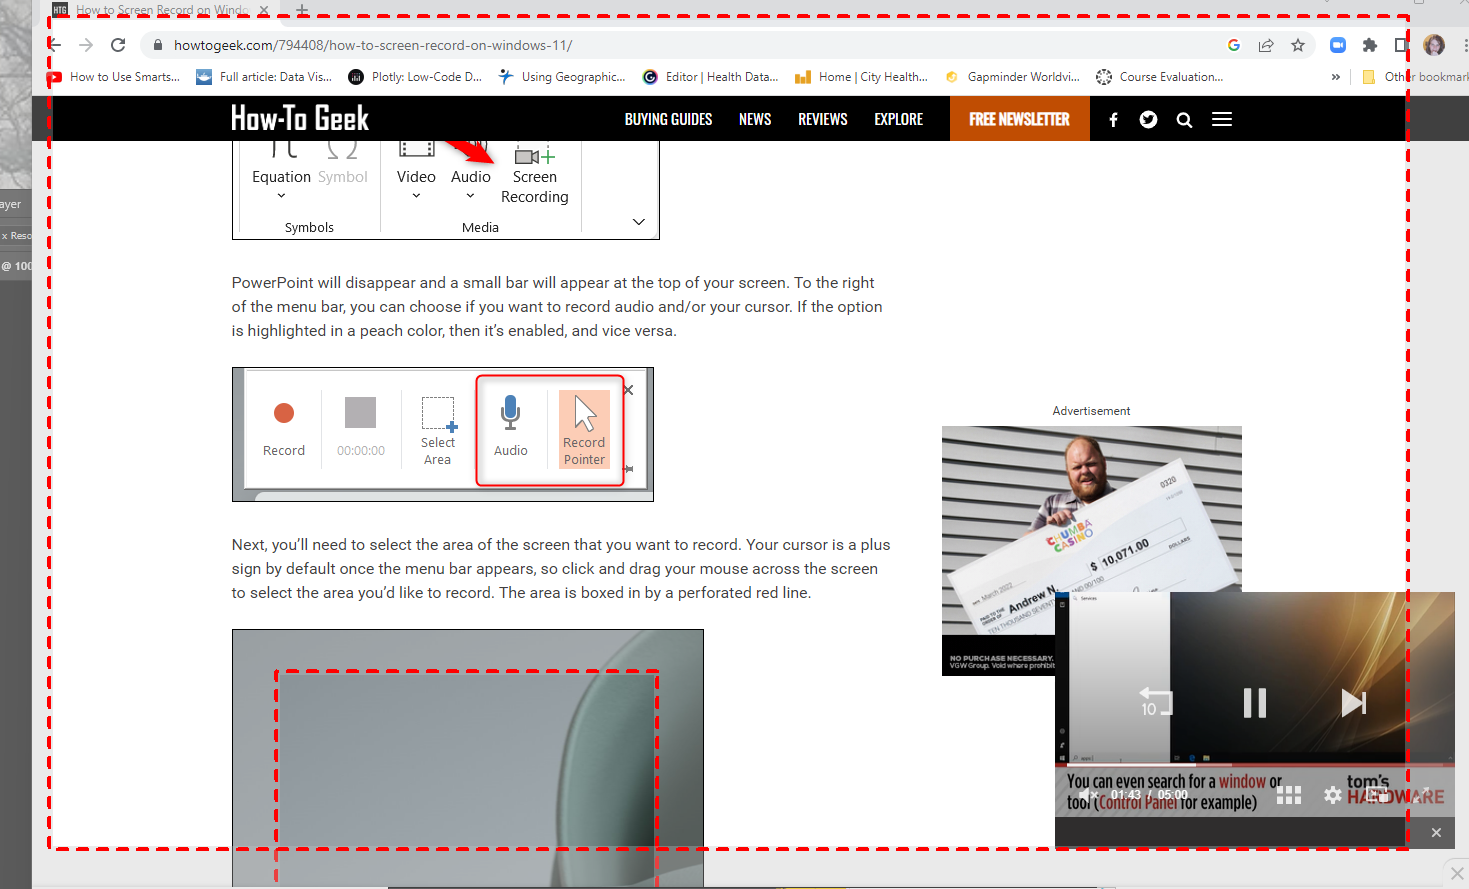
- A red box will appear on your screen. This is the area that will be recorded. If you wish to choose a different area, click Select Area from the recording toolbar and select a different portion of your screen.
- When you are ready, hit the record button.
- When you are finished, hit stop.
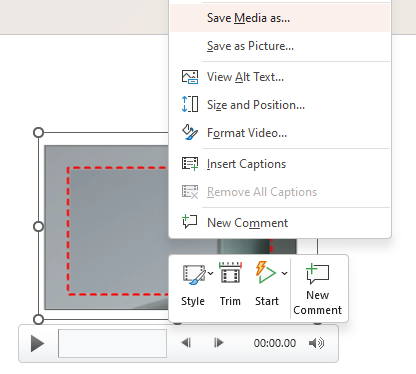
- The video will appear in your PowerPoint slide. To save the video to your computer, right click the video in PowerPoint and choose “Save Media As…”
- After saving the recording to your computer, upload this file to Kaltura or another video platform to embed it into Canvas.